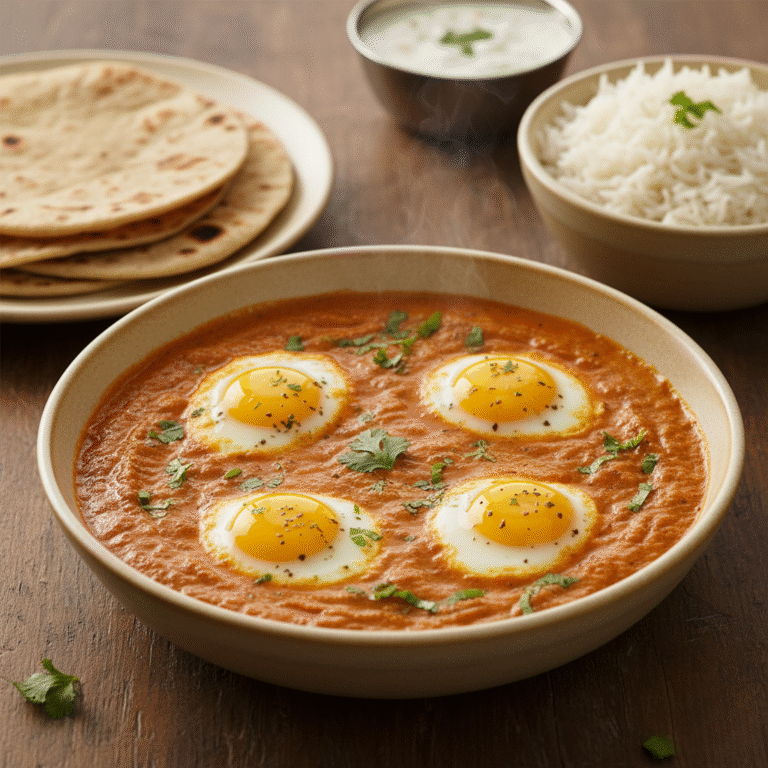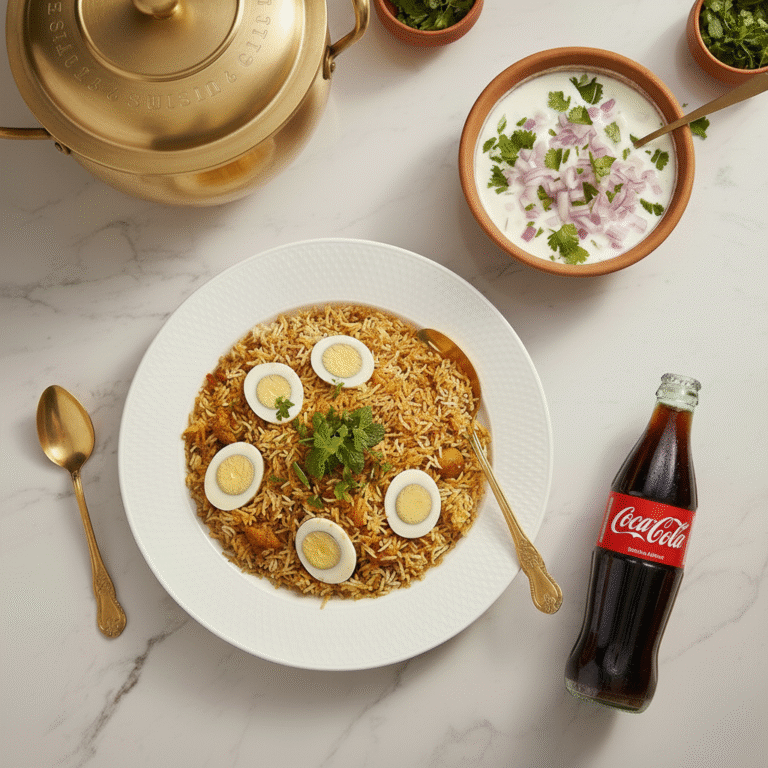
Chicken Tikka Biryani
Introduction
Experience the royal flavors of this spectacular Chicken Tikka Biryani – a dish that combines tender marinated chicken with fragrant basmati rice in perfect harmony. This authentic biryani recipe brings together the best of Indian spices and cooking techniques to create a meal that’s truly fit for celebrations. Whether you’re hosting guests or treating your family, this chicken tikka biryani promises to deliver restaurant-quality results right in your home kitchen.
Summary of the Recipe
This fantastic biryani recipe follows a meticulous four-step process that ensures every grain of rice is perfectly cooked and every piece of chicken is bursting with flavor. We begin by marinating the chicken in a rich blend of spices and yogurt, then par-cook the basmati rice with whole spices. The marinated chicken is cooked to perfection before being layered with the rice and finished with the traditional dum cooking method. The result is an absolutely delicious chicken tikka biryani that will become your go-to recipe for special occasions.
Serving
- Serve Immediately: Best enjoyed hot and fresh
- Traditional Accompaniments: Raita, salad, or side gravy
- Perfect For: Dinner parties, festivals, weekend feasts
Preparation Time
- Rice Soaking: 1 hour
- Chicken Marination: 1 hour to overnight
- Active Cooking Time: 1.5 hours
- Dum Cooking: 15 minutes
Equipment
- Mixing bowls for marination
- Large pot for rice cooking
- Heavy-bottomed pan for chicken
- Deep pot for layering
- Tawa for dum cooking
- Aluminium foil for sealing
Ingredients
For Chicken Marination
- 🍗 Chicken – 1.5 kg (bone-in for best flavor)
- 🥛 Fresh curd – 1 cup
- 🧄 Ginger-garlic paste – 1 tbsp
- 🟡 Turmeric powder – ½ tsp
- 🌶️ Kashmiri chili powder – 1 tbsp
- 🔥 Regular chili powder – 1 tbsp
- 🧂 Salt – 1½ tsp
- Garam masala – 1 tsp
- Cumin powder – 1 tsp
- Coriander powder – 1 tsp
- ⚫ Pepper – 1 tsp
- 🍋 Lemon juice – from 1 lemon
- Food color – pinch (optional)

Step 3: Create the Flavor Base
For Rice Preparation
- 🍚 Basmati rice – 2 cups (500g)
- 🧂 Salt – 1 tsp
- 🧈 Ghee – 1 tsp
- Whole spices – cinnamon, cloves, cardamom, shahi jeera, peppercorns, mace, bay leaf

For Masala and Layering
- 🧈 Ghee – 1 tbsp
- 🫒 Oil – 2½ tbsp total
- 🧅 Onions – 2 medium, thinly sliced
- 🌶️ Green chilies – 3, slit
- 🍅 Tomatoes – 2 large, sliced
- 🧅 Fried onions – ½ cup
- 🌿 Coriander leaves – ½ cup chopped
- 🌿 Mint leaves – ¼ cup

Step-by-Step Instructions
Step 1: Marinate the Chicken

Create the perfect marinade by combining yogurt with ginger-garlic paste and all the dry spices. Coat the chicken pieces thoroughly and let them marinate for at least one hour, though overnight marination yields the best results. The acids in yogurt and lemon juice will tenderize the chicken while the spices infuse deep flavor.
Step 2: Prepare the Rice

Soak basmati rice for one hour to ensure long, fluffy grains. Cook with whole spices until 95% done – the rice should be cooked but still firm to the bite. This partial cooking is crucial for the final dum process where the rice will complete cooking while absorbing the chicken flavors.
Step 3: Create the Flavor Base


Sauté onions and green chilies in ghee until golden brown, then add tomatoes and cook until soft. This masala base forms the foundation of your biryani’s flavor profile. Remove and set aside once properly cooked.
Step 4: Cook the Chicken Tikka

In the same pan, cook the marinated chicken pieces in batches to ensure even cooking. Return the sautéed masala to the pan, add fried onions and fresh herbs, then simmer to create a rich gravy that will moisten the biryani layers.
Step 5: Layer with Precision

Begin with a rice layer in your deep pot, followed by chicken and gravy. Sprinkle with fried onions and herbs. Repeat the layers, finishing with a chicken layer topped generously with garnishes. The layering technique ensures every serving gets the perfect balance of rice and chicken.
Step 6: Dum Cooking Perfection

Seal the pot with aluminium foil to trap steam and place on a preheated tawa. Cook on medium flame for 15 minutes, allowing the flavors to meld together and the rice to absorb the aromatic steam.
Step 7: Serve and Enjoy

Let the biryani rest for 5 minutes before gently mixing and serving hot. The careful resting period allows the flavors to settle and makes serving easier.

“Let’s Cook This Together!” My goal is to make sure you succeed in your kitchen. If you hit a snag while making this “Chicken Tikka Biryani” , I want to hear about it. Send me an email directly, and I’ll do my best to help troubleshoot so your meal turns perfectly.myhomekitchen333@gmail.com.
“Find Your Next Favorite Meal” → Explore hundreds of recipes at myhomekitchen.in